Heat is not bad for curly hair - in fact, it can often provide us with better, longer-lasting styling results. This is because diffusing your hair makes your gel cast form and harden faster, before frizz can form. Many curlies also love diffusing because it gives more volume!
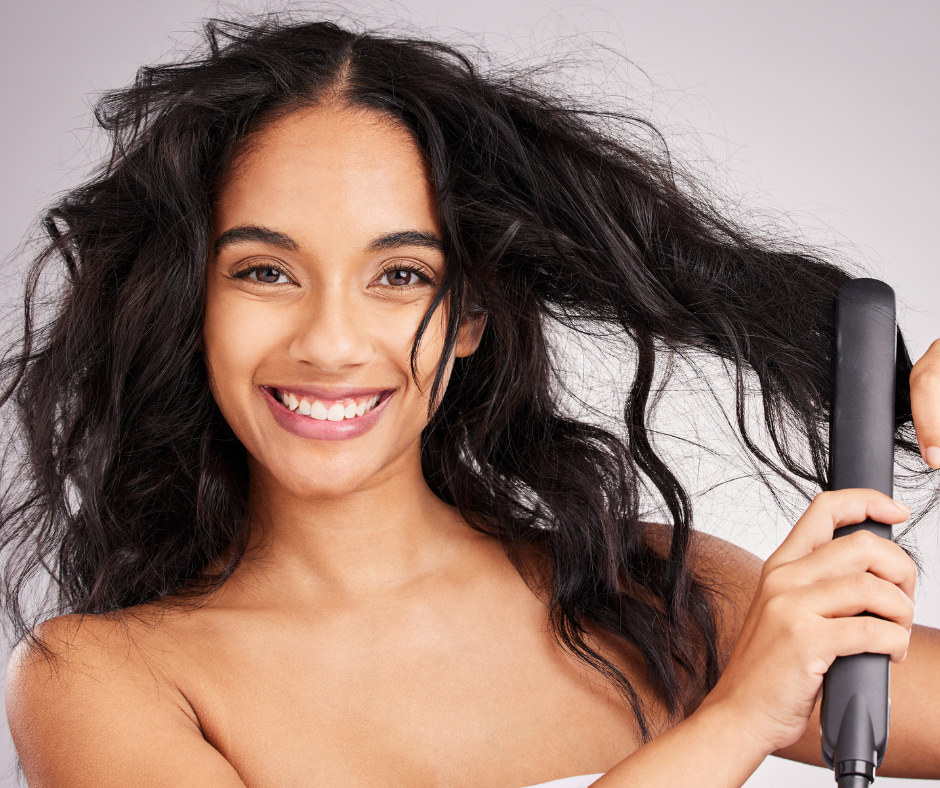
Believe it or not, our hair is most fragile when it is wet. The less time it spends in a wet state, the better it is for our hair and scalp. Even after styling curly hair is more likely to be dry, break, or snap than straight hair. These characteristics can be made worse by heat damage caused by not using a heat protectant.
Why Use a Heat Protectant on Curly Hair?
Heat protectants create a barrier between your hair and hot styling tools, reducing moisture loss and preventing heat damage. Without one, direct heat can weaken the hair shaft, leading to split ends and breakage over time.
When Do You Need a Heat Protectant?
If you regularly use a flat iron (no judgement here!), a heat protectant is an absolute must as you are applying a hot tool directly to your strands.
Diffusing your hair means drying your curls with a diffuser. This diffuses the air evenly across a wider area compared to a standard blow dryer or concentrator nozzle, resulting in faster drying with less frizz.
Do You Need a Heat Protectant for Diffusing?
If you regularly dry your hair at high heat, even with a diffuser, a heat protectant is a good idea. How hot is hot, though? Some blow dryers get hotter than others, even at a low setting, so this is really a judgement call.

When diffusing, if you:
- Can feel heat lingering on your hair when you stop blow drying
- Can't hold your hand in front of your diffuser for more than a couple of seconds because it's too hot
- Have to keep moving your diffuser away from your scalp because it's too warm for your skin
I would consider using a heat protectant.
If you blow dry on low or cool, or none of the above pertains to you, a heat protectant probably isn't necessary.

Heat Protection Ingredients to Look For
The following ingredients are good at providing some heat protection, even if the product isn't marketed as offering it:
- Silicones (e.g., Dimethicone, Cyclopentasiloxane) – Form a protective barrier around the hair shaft, reducing heat damage.
- Hydrolyzed Proteins (e.g., Keratin, Silk Protein, Wheat Protein) – Strengthen the hair structure and minimize weakening of the hair due to heat.
- Natural Oils (e.g., Argan Oil, Coconut Oil, Grapeseed Oil, Mongongo Oil) – Provide a heat-resistant layer to your hair.
- Aloe Vera – Acts as a natural heat protectant.
- Polyquaterniums – Reduces friction caused by heat styling.
- Vitamin E – Provides antioxidant protection to prevent heat-related oxidative damage.
- Panthenol (Pro-Vitamin B5) – Helps retain moisture that heat can blow out of your hair.
- Silk Amino Acids – Coat the hair and protect it from high temperatures.
When to Apply Heat Protectant in Your Curly Hair Routine
For the best results, apply your heat protectant after washing and conditioning your hair but before using any heat tools.
Our rule of thumb for heat protectants is to apply it directly to your wet or damp hair after rinsing out your conditioner and before any other styling product. Many heat protectants contain some moisturizers, especially if they are labelled as a primer. In these instances you may not need a leave-in as well. You can, however, put a bit of leave-in conditioner under your heat protectant if you feel your need it. Keep in mind that the product that has direct contact with your hair will be the one that does its job (moisturizing vs. protecting) best.
The only exception to this would be if the product manufacturer recommends applying the heat protectant elsewhere in your routine. They formulated and tested the product, so you should follow their instructions if they differ.
Regardless, a heat protectant should almost always be applied before any curl creams or gels.
How to Use a Heat Protectant on Curly Hair
-
Start with Clean, Moisturized Hair.
-
Apply the Heat Protectant Evenly. Spray or distribute the product throughout your hair, focusing on the mid-lengths and ends where damage is most likely to happen.
-
Comb Through for Even Distribution. Use a wide-tooth comb, fingers, or a brush like the Bounce Curl Define EdgeLift Brush, to ensure every strand is coated.
-
Let It Absorb. Allow the product and your hair to dry slightly before diffusing or blow drying. When hair is soaking wet, the water within the strands can rapidly evaporate when exposed to high temperatures. Allowing your hair to dry slightly before applying heat helps prevent sudden moisture loss, which can weaken the hair shaft and lead to dryness. It also gives your heat protectant time to form an effective barrier.
-
Go Low & Slow. Lower temperatures (below 350°F) are best for curly hair to minimize heat damage. It may take longer, but less damage is worth a bit of additional time (if you can spare it - we all know how long wash day takes already).
Heat Protectant Recommendations

Many heat protectants also work like primers, similar to a makeup primer or even the primer you use on a wall before painting it. They provide a smooth base for your styling products, filling in chips and cracks in the hair also creating a layer of protection against heat.
If you're looking for a new heat protectant, here are our top recommendations:
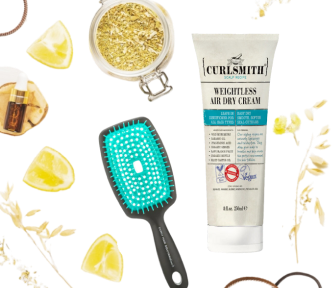
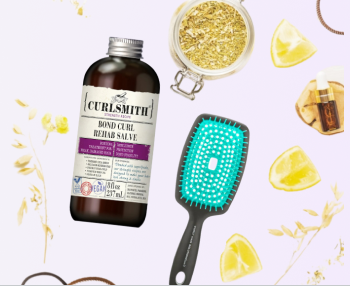
- Curlsmith Miracle Shield Heat Protection Spray - this also offers UV protection.
- AG Hair Deflect Fast-Dry Heat Protection - our top pick if your hair is colour-treated.
- Innersense Hair Love Prep Spray - a lightweight primer.
- Olaplex No. 5 Leave-in Conditioner - contains Olaplex's patented bond-building technology for overall hair health.
- Boucleme Curl Defense Spray - a multi-protection product specifically formulated for curly hair.
- AG Hair Firewall Argan Shine & Flat Iron Spray - best used for flat ironing.
Using a heat protectant is an important part of maintaining luscious, healthy, bouncy curls if you're regularly heat styling. Where possible, use low heat or cool air to further minimize damage.
For more information about drying your curls, check out our blog post about the pros and cons of diffusing vs. air drying.